Hello and Welcome Back,
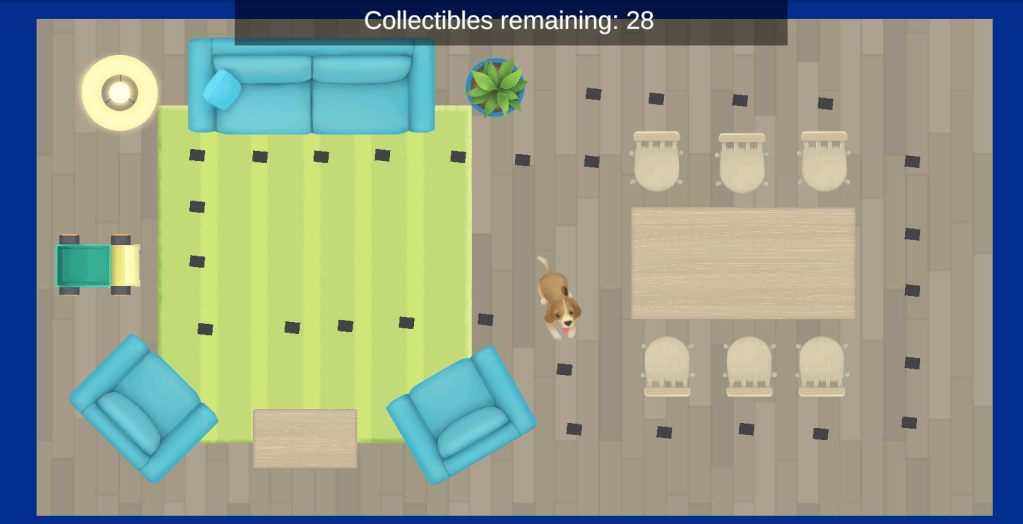
It’s been the Christmas break here in the UK, and December is always a busy month both personally and professionally for me, so my game development journey has taken a little backseat recently. However, a new year presents a fresh opportunity to learn, and I’ve made the decision to pause my development of my 3D Snakes and Ladders game, to head back to Unity Pathways and begin the Creative Core Pathway. This week, it’s all about setting up the projects ready to get stuck in.
This pathway is help you gain knowledge in the more creative aspects of the Unity Engine. If you’d like to follow the pathway yourself, you can do so here:
Creative Core Pathway – Master Unity 3D Art, Design & Animation | Unity Learn
Starting the Creative Core Pathway
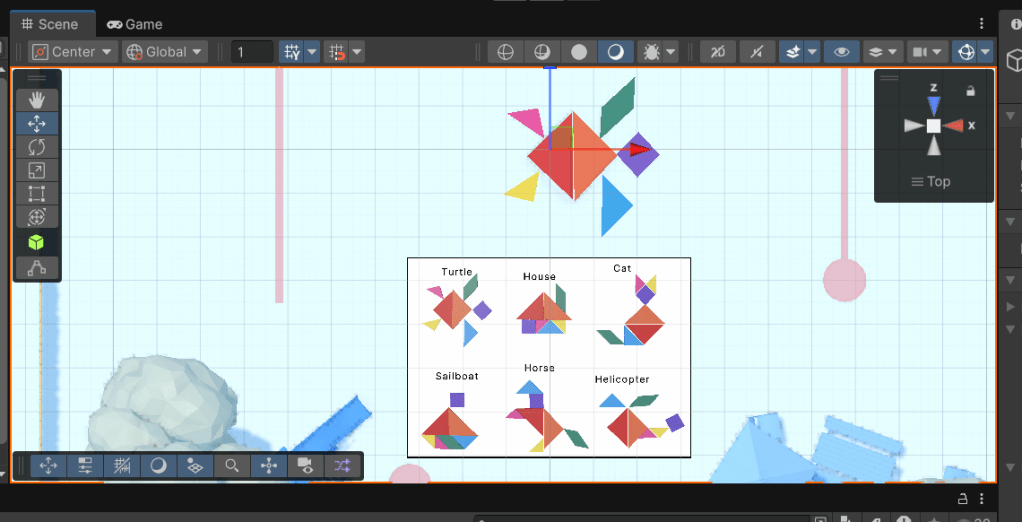
My journey begins with the first tutorial introducing the Creative Core Pathway. This tutorial gives a brief overview of the pathway itself and introduces you to some of the projects you may be working on as you progress.
Next, it’s a brief introduction to each of the creators who you will be working with to complete different modules on the pathway. As part of their introduction they explain how they got their first opportunities in the game development community and what it means to them. Quite an inspiring watch!
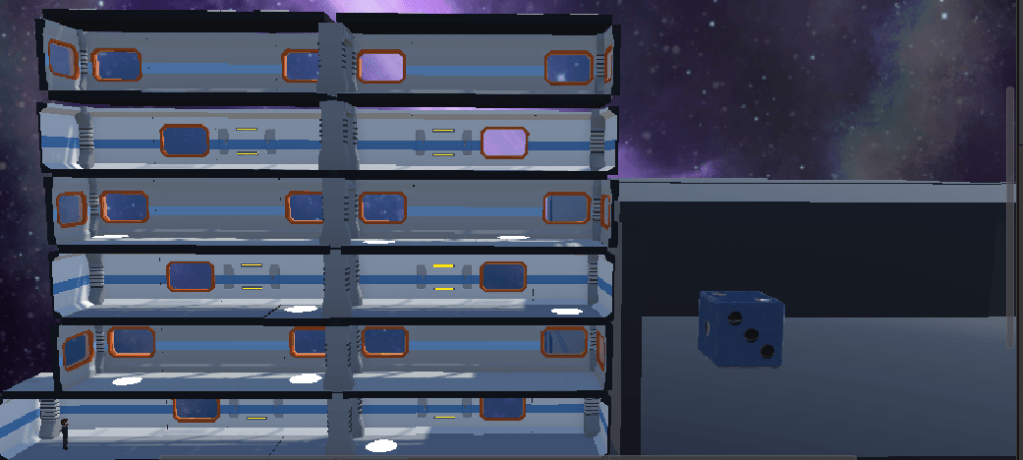
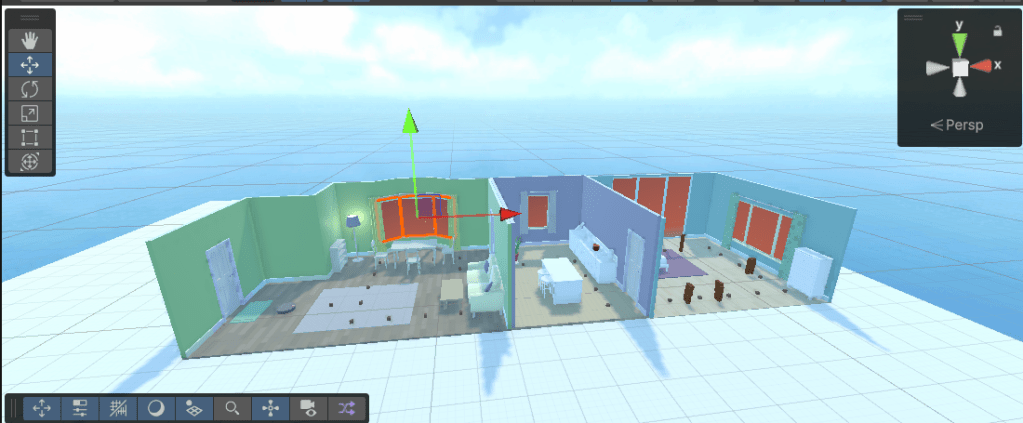
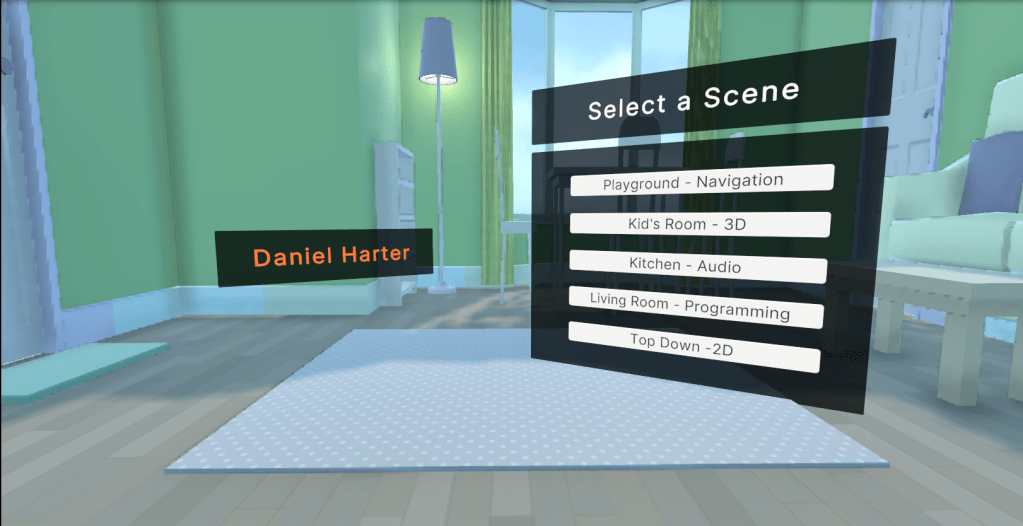
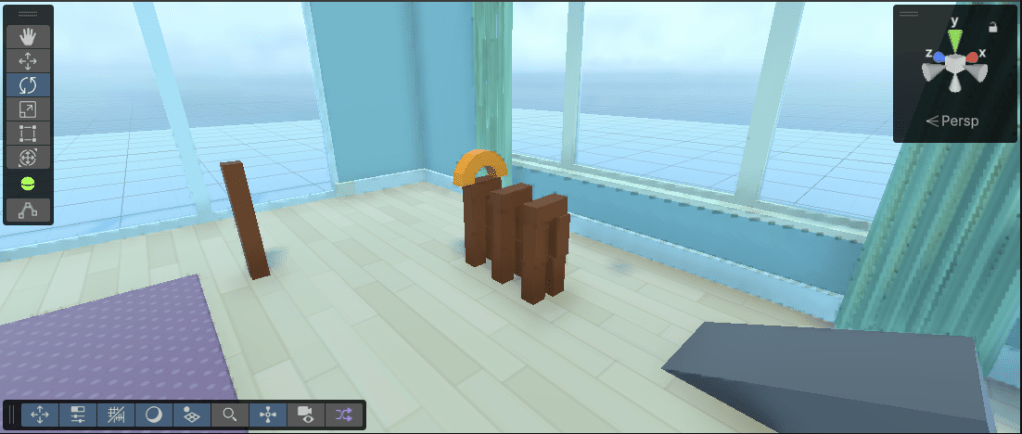
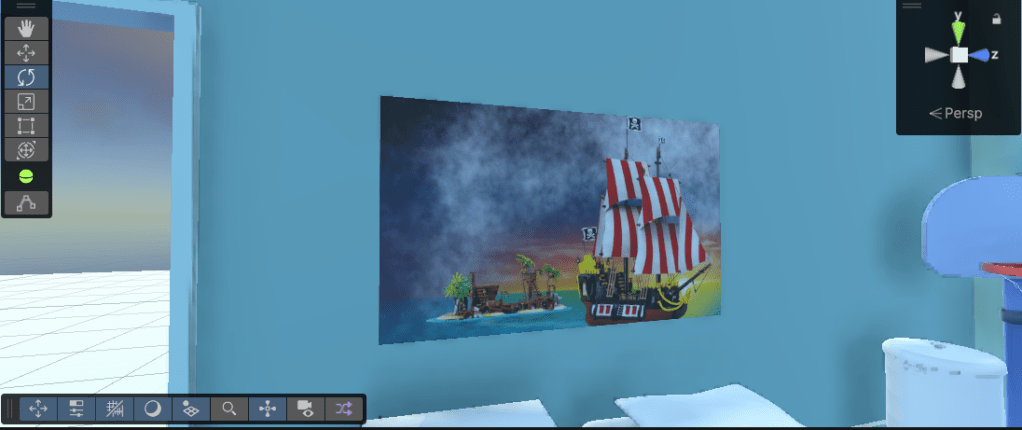
Next you’re given more details and a design document for each of the projects within the pathway. Though it’s perfectly fine to take just one of the projects and run through the pathway with that, I found two of the projects that I thought would give me skills to help enhance and complete my 3D Snakes and Ladders game. They are the Alien Video Game Shop and the Beachside Town.


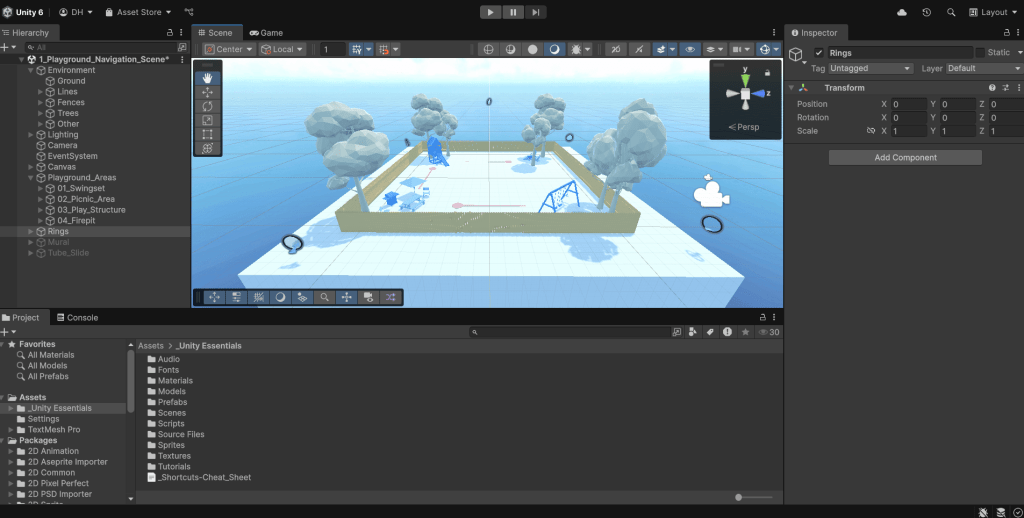
Once I decided on my guided project, (or two in this case), it was time to set it up. This tutorial starts with a brief introduction to different types of render pipelines and their uses, and whilst it doesn’t go into too much detail it does allow you understand which render pipeline you will need. Additionally, the tutorial also provides a handy Render Pipeline Flow Chart to help guide you, which can be found here:
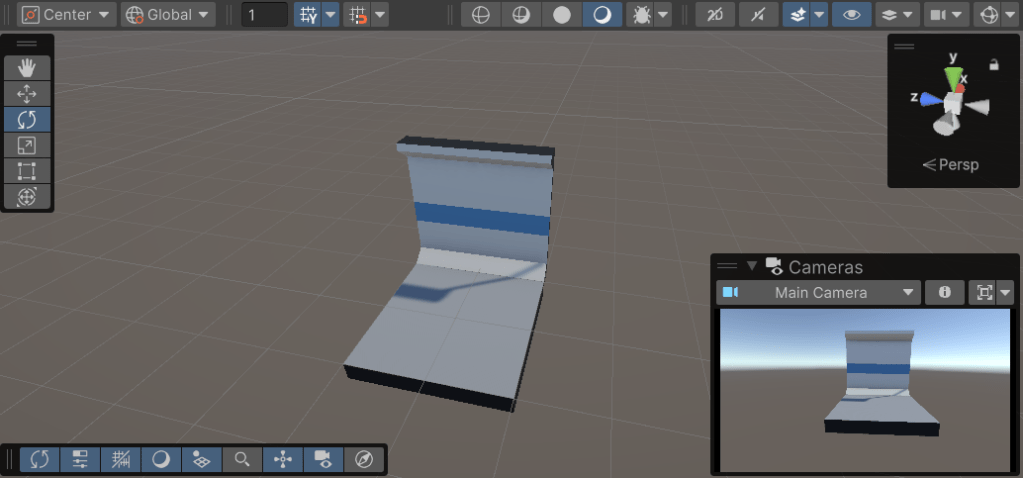
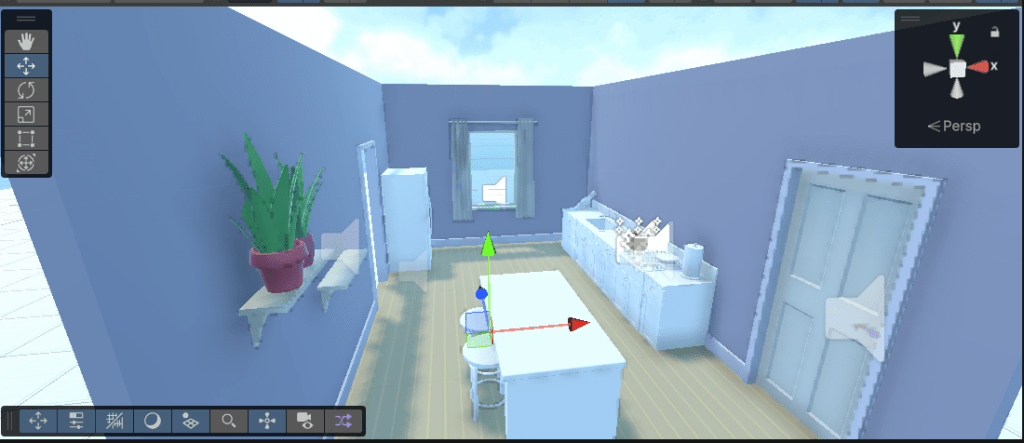
As per the tutorial, I created a new Universal Rendering Pipeline (URP) project and imported the assets provided in the tutorial. Once I’d done that I was able to create a new scene for each of my projects, and drag the existing starter environment prefab onto each. There does initially appear to be some issues with the materials loading and some of them load pink, but I’m assured that will get rectified in one of the early missions.
Copyright for Creators
Once I’d done that I was ready to get stuck into my project, but before I could tackle the missions there were a couple of things to ready through first. The interesting one being how copyright works when it comes to game development and more importantly to game assets. The main takeaway I got from that tutorial was to always check the licensing, and even if the licensing says it’s free, it’s always good manners to reference the creator within the credits of your game.
Additionally, for each of my projects I’ll be maintaining and assets list on my blog, with links to where you can find assets and full credit given to the creators. I’ll also include some recommended sites within the site which host some cool assets.
Conclusion
It feels good to be back learning again! I love learning the Unity Essentials, and though I loved attempting to put my first game together after that I still always felt like I was missing pieces along the way, so I’m loving that I’ll be learning some new skills from the Creative Core Pathway, and look forward to applying those skills to my game at the end.
Until next time,
Dan