Hello and welcome back.
This week has been a busy one in my learning journey. First I finished off the Editor Essentials mission on the pathway, then proceeded through the 3D essentials mission, which I managed to finish within the week.
If you’d like to learn more about Unity Essentials you can find out more here:
Unity Essentials Pathway – Learn Game Development for Beginners | Unity Learn
Finishing the Editor Essentials Mission
Lesson Five – Design a mural in the scene view
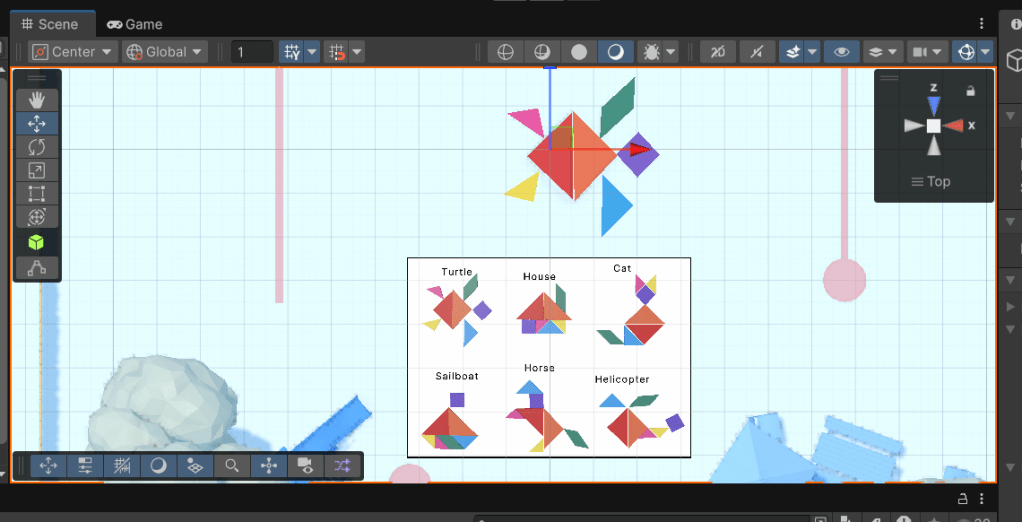
In this lesson we moved objects around on the floor of the playground to create a mural of a turtle. This lesson allowed me to learn the difference between Global and Local coordinates, and allowed me to practise my skills with the Move and Rotate tools.
Lesson Six – Editor Essentials – More things to try
This lesson consisted of three challenges. Each of which was progressively more challenging than the other. First, the Easy challenge was to fly through the rings using the Q and E buttons. I managed to complete this easily.
Next task was to create another mural using the suggested layouts provided on screen. I chose the house first and then went a step further and did the cat. (Though I may want to work on my spacing between objects a little).

The final task was to put together a tube slide, which started in three separate pieces. It took a little time a patience to line the pieces up correctly, but I got there, and I’m happy with the result.

Mission One Quiz
The final lesson of my first mission was a quiz, in which I scored 4/5. I got an incorrect answer on the following question:
Incorrect answer: What happens when you use the Scene view gizmo to disable Perspective and enter Isometric mode?
I won’t tell you what the correct answer is, but if you’re following along or know, feel free to comment underneath with your answer.
Mission Two – 3D Essentials
My next mission is to get to grips with some 3D essentials. To do this I’ll be creating a kid’s bedroom with a bouncy ball which will hit a ramp before bouncing into some bricks to knock them over. By the end of this mission I should have learned how to create a 3D scene from scratch and add in some physics elements to be able to emulate what should happen when the ball hits the bricks.
Lesson One – Add furniture to the Kid’s room
Lesson one of my second mission involved dragging a prefab of a kids bedroom into the scene and populating it with some furniture in order to personalise the space. Additionally I learned how to use Transform to position a GameObject.
Lesson Two – Make A Bouncy Ball
Next lesson we add the bouncy ball and some physics to it. First I learned how to add a 3D primative to a scene, in this case a sphere, as well as how to add a material to it to give it colour. Then I add a RigidBody and a Mesh Collider to the ball to emulate the physics of gravity and collision.
Lesson Three – Make a tower of prefab blocks
In this lesson I added cubes to the scene and used the Scale tool to turn them into blocks. I then arranged the blocks on top of each other and grouped them into one prefab. I then learned how to edit a prefab in ‘Prefab Mode’, before creating an Empty GameObject to act as a parent for my prefabs which I had duplicated. Finally we arranged the blocks into position in front of the ramp so that they would get hit by the ball on the way down. Additionally we changed the mass of the ball to be able to knock the blocks over with its weight.
Lesson Four – Adjust the lights, background, and camera angle
Lesson Four was a shorter lesson where we adjusted the directional light to convey the time of the day. We also learnt how to place our camera at a better angle to capture the moment the ball hits the blocks, and finally changed the SkyBox to show a different background.
Lesson Five: More things to Try
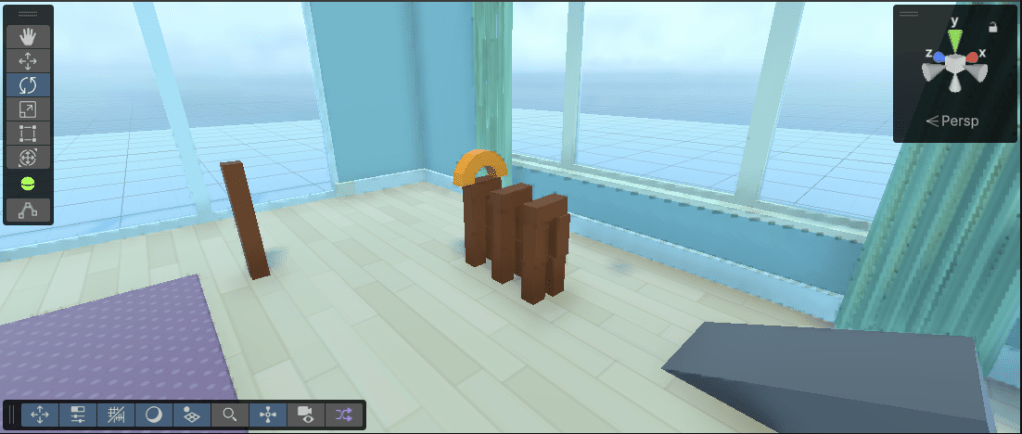
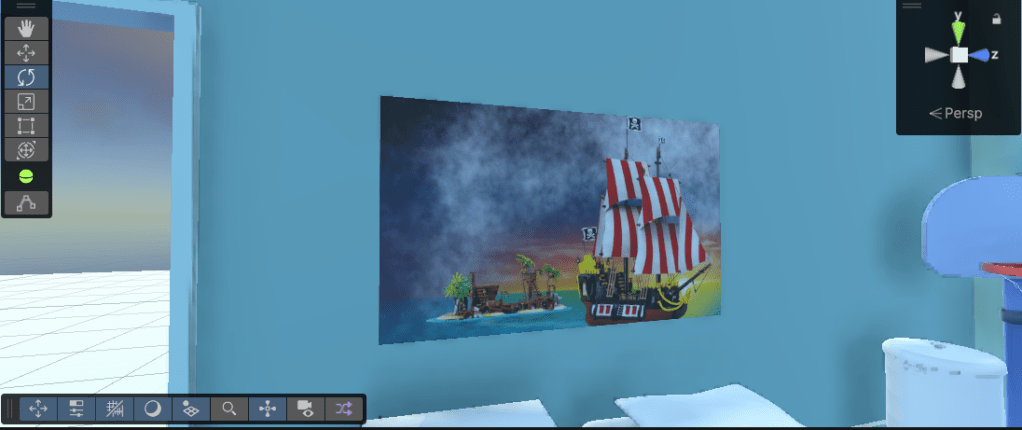
The final lesson before the quiz were a set of challenges to try just like the previous mission. First we created a perfect block tower using vertex snapping. This one was quite easy to master. Secondly we added a different shape to the prefab. I chose an arch with an alternative material on it to make it stand out. Finally, we added some custom artwork to the scene using a Quad, then placed the artwork on one of the walls.
Mission Two Quiz
Like the last mission, this mission ended with another quiz, in which I scored 4/5 again. The question I chose the wrong answer on was:
- When you add a primitive 3D shape to your Unity scene, what happens?
I won’t tell you the answer, but feel free to comment underneath the post with your answer.
Summary
This week has been another fun week working through the Unity Essentials Pathway. I’ve really enjoyed getting stuck into the 3D Essentials and flew through the mission. Next up I plan to work through the Audio Essentials Mission, which is quite short at 40 mins, then work through the Programming Essentials Mission.
Catch you next time,
Dan

Leave a comment