Hello and welcome back.
After completing the Unity Essentials Pathway from the Unity Learn website, I’ve decided to have a go at putting my newfound skills to the test by creating my first 3D game. My 3 year old son loves a game of Snakes and Ladders, so I’ve decided to create a 3D Snakes and Ladders game with a space feel to it, so that we can play it together and he can see what Daddy has made. 😊
Sprint One – Board Creation and Basic Player Movement
For my first sprint I’ve focused on building my 3D board first. I spent a little time looking around the Unity Asset Store, focusing on the free assets to see what I could make with them. There is a great selection of both Paid and Free assets in the Unity Store, and if you’re just starting out like myself, then I’d highly recommend using that as your starting place for assets.
Something that I didn’t learn about in the Essentials pathway is that there are different types of resolution and renderings of assets, so depending on the assets you find you may experience some issues when using them in your project.
I found that some of the higher res assets use different rendering pipeline than what I have as the default so decided to stick to the low poly assets and made a note to read up more about the different types of rendering and assets later.
Eventually I found this Modular Sci Fi Interior from G.Forge and decided to use that for making my 3D board.
Sci-Fi Interior Modular Kit [Demo] | 3D Sci-Fi | Unity Asset Store
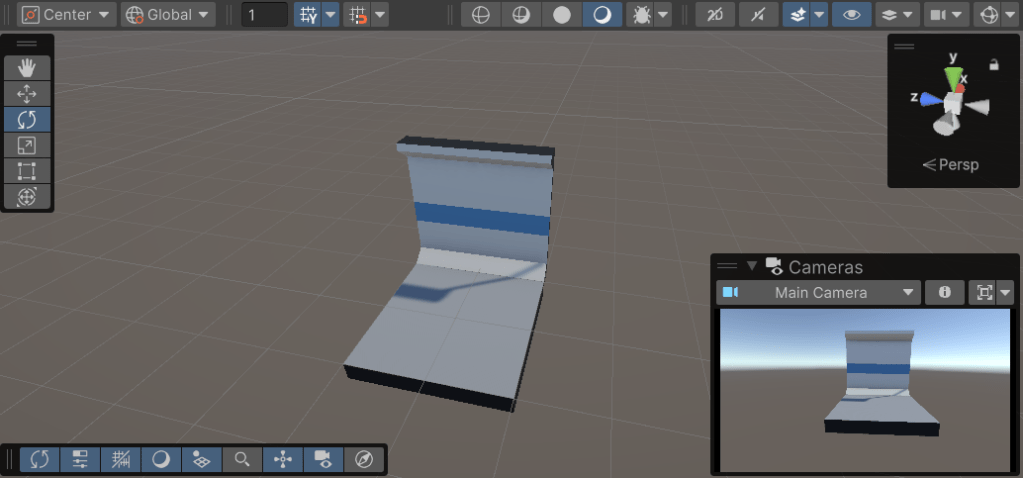
Using this I created my first space on my board which consists of one floor piece and one wall piece. This is space one on my board.
After making my first piece I realised that I needed to add some Story Point Estimates to my work Items in JIRA so that I can track my velocity and work out my baseline after my first few sprints. For story point scoring I’ve decided to go with the basic t-Shirt sizing based at the following rough estimates:
- Extra Small – Less than an hour
- Small – Couple of hours
- Medium – Half a day (4 Hours)
- Large – Full day (8 Hours)
- X.Large – Epic – Multiple days – Therefore needs to be split down further.
Moving on to my next work item I then created spaces two, three, and four. Spaces two and three are created separately as new spaces, whilst space four is a duplicate of space one, adding a little mirroring to the board.
Looking at the spacing on the board and thinking about the dimensions of the players screen I decided it would be better to have 8 spaces per row and 6 rows, totalling 48 spaces for my board. I added an archway in the middle of each row, and then duplicated the first half of my board and laid the pieces as a mirror image of the left side. This made my first row of the board.
Finishing out the game board
With my first row completed I was then able to use an alternative version of the same assets to create my second row. Using the alternative materials means it’s easy to distinguish the rows and looks quite cool. Once I’d created my second row, it was then easy to duplicate the rows and their alternatives to create the remaining rows of the board giving me the six rows I desired.
At this point my game board looks fairly solid. There are some extra touches I’d like to add near the end and they do need some UI elements to add numbering to each space, but so far it looks pretty good. I decided to add a Skybox to the scene so that the background has an out of this world view to it and adds to the feel of being on a space station. I’ve added the following Skybox from Sean Duffy and it looks pretty good on screen:
Deep Space Skybox Pack | 2D Textures & Materials | Unity Asset Store

Adding a basic player
Now that the basic board is ready it was time to add features such as my “Snakes” and “Ladders”. For these I fancy having little portals that activate when the play stops on them and can teleport them to the corresponding spot. Some would send you further up the game board and others would send you back down. To test this however, I first need a dummy player that will be able to activate the portals by stepping on them.
After another scout of the Asset Store I settled upon a basic player, but was having trouble rendering their materials in the project again. A quick search showed me that I needed to convert the materials to the latest rendering settings, and doing so got them working again and looking good. Finally I added the player controller from the Unity Essentials Pathway into the project and attached to the player and success! I now have a basic player who can move around the project.
That player was provided by EMD Assets:
Character Pack – Lowpoly FREE | 3D Humanoids | Unity Asset Store
Obviously, by the end of the project the dice and scripting will control the player movement, but for the purposes of early testing this script is handy to use.
Wrapping up the first Sprint
My first week designing my Snakes and Ladders game has been a great success and I’ve achieved much more than I thought I would do with little in the way of setbacks. Planning out for my next Sprint, I’d like to focus on placing and coding my portals next week so that my player ports when they stop on them. The challenge here is going to be allowing the player to step over them if the dice roll is higher. I sense some programming challenges coming up! 😊
Until next time
Dan

Leave a comment